在处理 Laravel 中的身份验证时,有几个开箱即用的选项。但是,有时您需要更具体的东西。本教程将介绍如何在身份验证流程中添加一次性密码方法。
首先,我们需要对 User 模型进行一些调整,因为我们不再需要密码登录。我们还需要确保我们的姓名是可空值,并强制通过入职流程更新它。这样,我们就可以有一个用于身份验证的入口路由 - 主要区别在于现在注册用户将被重定向到入职流程。
您的用户迁移现在应该如下所示
public function up(): void{ Schema::create('users', function (Blueprint $table): void { $table->id(); $table->string('name')->nullable(); $table->string('email')->unique(); $table->string('type')->default(Type::STAFF->value); $table->timestamps(); });}我们也可以将这些更改反映到我们的模型中。我们不再需要记住令牌,因为我们希望每次都强制登录。此外,用户只需使用一次性密码登录即可验证其电子邮件。
final class User extends Authenticatable{ use HasApiTokens; use HasFactory; use Notifiable; protected $fillable = [ 'name', 'email', 'type', ]; protected $casts = [ 'type' => Type::class, ]; public function offices(): HasMany { return $this->hasMany( related: Office::class, foreignKey: 'user_id', ); } public function bookings(): HasMany { return $this->hasMany( related: Booking::class, foreignKey: 'user_id', ); }}我们的模型更加简洁,因此我们可以开始研究如何生成一次性密码代码。首先,我们希望创建一个 `GeneratorContract`,我们的实现可以使用它,并且我们可以将其绑定到我们的容器中以供解析。
declare(strict_types=1); namespace Infrastructure\Auth\Generators; interface GeneratorContract{ public function generate(): string;}现在让我们看看如何实现一次性密码的 `NumberGenerator`,默认情况下我们将使用 6 个字符。
declare(strict_types=1); namespace Domains\Auth\Generators; use Domains\Auth\Exceptions\OneTimePasswordGenertionException;use Infrastructure\Auth\Generators\GeneratorContract;use Throwable; final class NumberGenerator implements GeneratorContract{ public function generate(): string { try { $number = random_int( min: 000_000, max: 999_999, ); } catch (Throwable $exception) { throw new OneTimePasswordGenertionException( message: 'Failed to generate a random integer', ); } return str_pad( string: strval($number), length: 6, pad_string: '0', pad_type: STR_PAD_LEFT, ); }}最后,我们希望将其添加到服务提供者中,以将接口和实现绑定到 Laravels 的容器中 - 允许我们在需要时解析它。如果您不记得如何执行此操作,我在 Laravel 新闻上写了一个关于 如何开发 Laravel 应用程序 的实用教程。这将很好地引导您完成这个过程。
declare(strict_types=1); namespace Domains\Auth\Providers; use Domains\Auth\Generators\NumberGenerator;use Illuminate\Support\ServiceProvider;use Infrastructure\Auth\Generators\GeneratorContract; final class AuthServiceProvider extends ServiceProvider{ protected array $bindings = [ GeneratorContract::class => NumberGenerator::class, ];}现在我们知道可以生成这些代码,我们可以研究如何实现它。首先,我们希望重构我们在上一篇名为 在 Laravel 中设置数据模型 的教程中创建的用户数据对象。
declare(strict_types=1); namespace Domains\Auth\DataObjects; use Domains\Auth\Enums\Type;use JustSteveKing\DataObjects\Contracts\DataObjectContract; final class User implements DataObjectContract{ public function __construct( private readonly string $email, private readonly Type $type, ) {} public function toArray(): array { return [ 'email' => $this->email, 'type' => $this->type, ]; }}现在我们可以专注于发送一次性密码的操作以及实际发送通知和记住用户的步骤。首先,我们需要运行一个动作/命令来生成一个代码,并将此代码作为通知发送给用户。为了记住这一点,我们需要将此代码添加到我们的应用程序缓存中,以及请求此一次性密码的设备的 IP 地址。如果您使用 VPN 并且您的 IP 在请求代码和输入代码之间切换,这可能会导致问题 - 但目前而言这是一个轻微的风险。
首先,我们将为每个步骤创建一个命令。我喜欢创建小的单类来执行每个过程的一部分。首先,让我们创建生成代码的命令 - 像往常一样,我们将构建一个相应的接口/契约,使我们能够依赖容器。
declare(strict_types=1); namespace Infrastructure\Auth\Commands; interface GenerateOneTimePasswordContract{ public function handle(): string;}然后是我们希望使用的实现
declare(strict_types=1); namespace Domains\Auth\Commands; use Infrastructure\Auth\Commands\GenerateOneTimePasswordContract;use Infrastructure\Auth\Generators\GeneratorContract; final class GenerateOneTimePassword implements GenerateOneTimePasswordContract{ public function __construct( private readonly GeneratorContract $generator, ) {} public function handle(): string { return $this->generator->generate(); }}如您所见,我们随时依赖容器 - 如果我们决定将一次性密码的实现从 6 个数字更改为 3 个单词,例如。
如前所述,请确保您在该域的服务提供者中将此绑定到您的容器中。接下来,我们希望发送通知。这次我将跳过显示接口,因为您可以在此时猜到它是什么样子。
declare(strict_types=1); namespace Domains\Auth\Commands; use App\Notifications\Auth\OneTimePassword;use Illuminate\Support\Facades\Notification;use Infrastructure\Auth\Commands\SendOneTimePasswordNotificationContract; final class SendOneTimePasswordNotification implements SendOneTimePasswordNotificationContract{ public function handle(string $code, string $email): void { Notification::route( channel: 'mail', route: [$email], )->notify( notification: new OneTimePassword( code: $code, ), ); }}此命令将接受代码和电子邮件,并将新的电子邮件通知路由到请求者。请确保创建通知并返回包含所生成代码的邮件消息。将此绑定注册到您的容器中,然后我们可以研究如何将 IP 地址与这些信息一起记住。
declare(strict_types=1); namespace Domains\Auth\Commands; use Illuminate\Support\Facades\Cache;use Infrastructure\Auth\Commands\RememberOneTimePasswordRequestContract; final class RememberOneTimePasswordRequest implements RememberOneTimePasswordRequestContract{ public function handle(string $ip, string $email, string $code): void { Cache::remember( key: "{$ip}-one-time-password", ttl: (60 * 15), // 15 minutes, callback: fn (): array => [ 'email' => $email, 'code' => $code, ], ); }}我们接受 IP 地址、电子邮件地址和一次性代码,以便我们可以将其存储在缓存中。我们将此生命周期设置为 15 分钟,以便代码不会过时,并且繁忙的邮件系统应该在此时间内完美地传递此代码。我们使用 IP 地址作为缓存键的一部分,以限制谁可以在返回时访问此键。
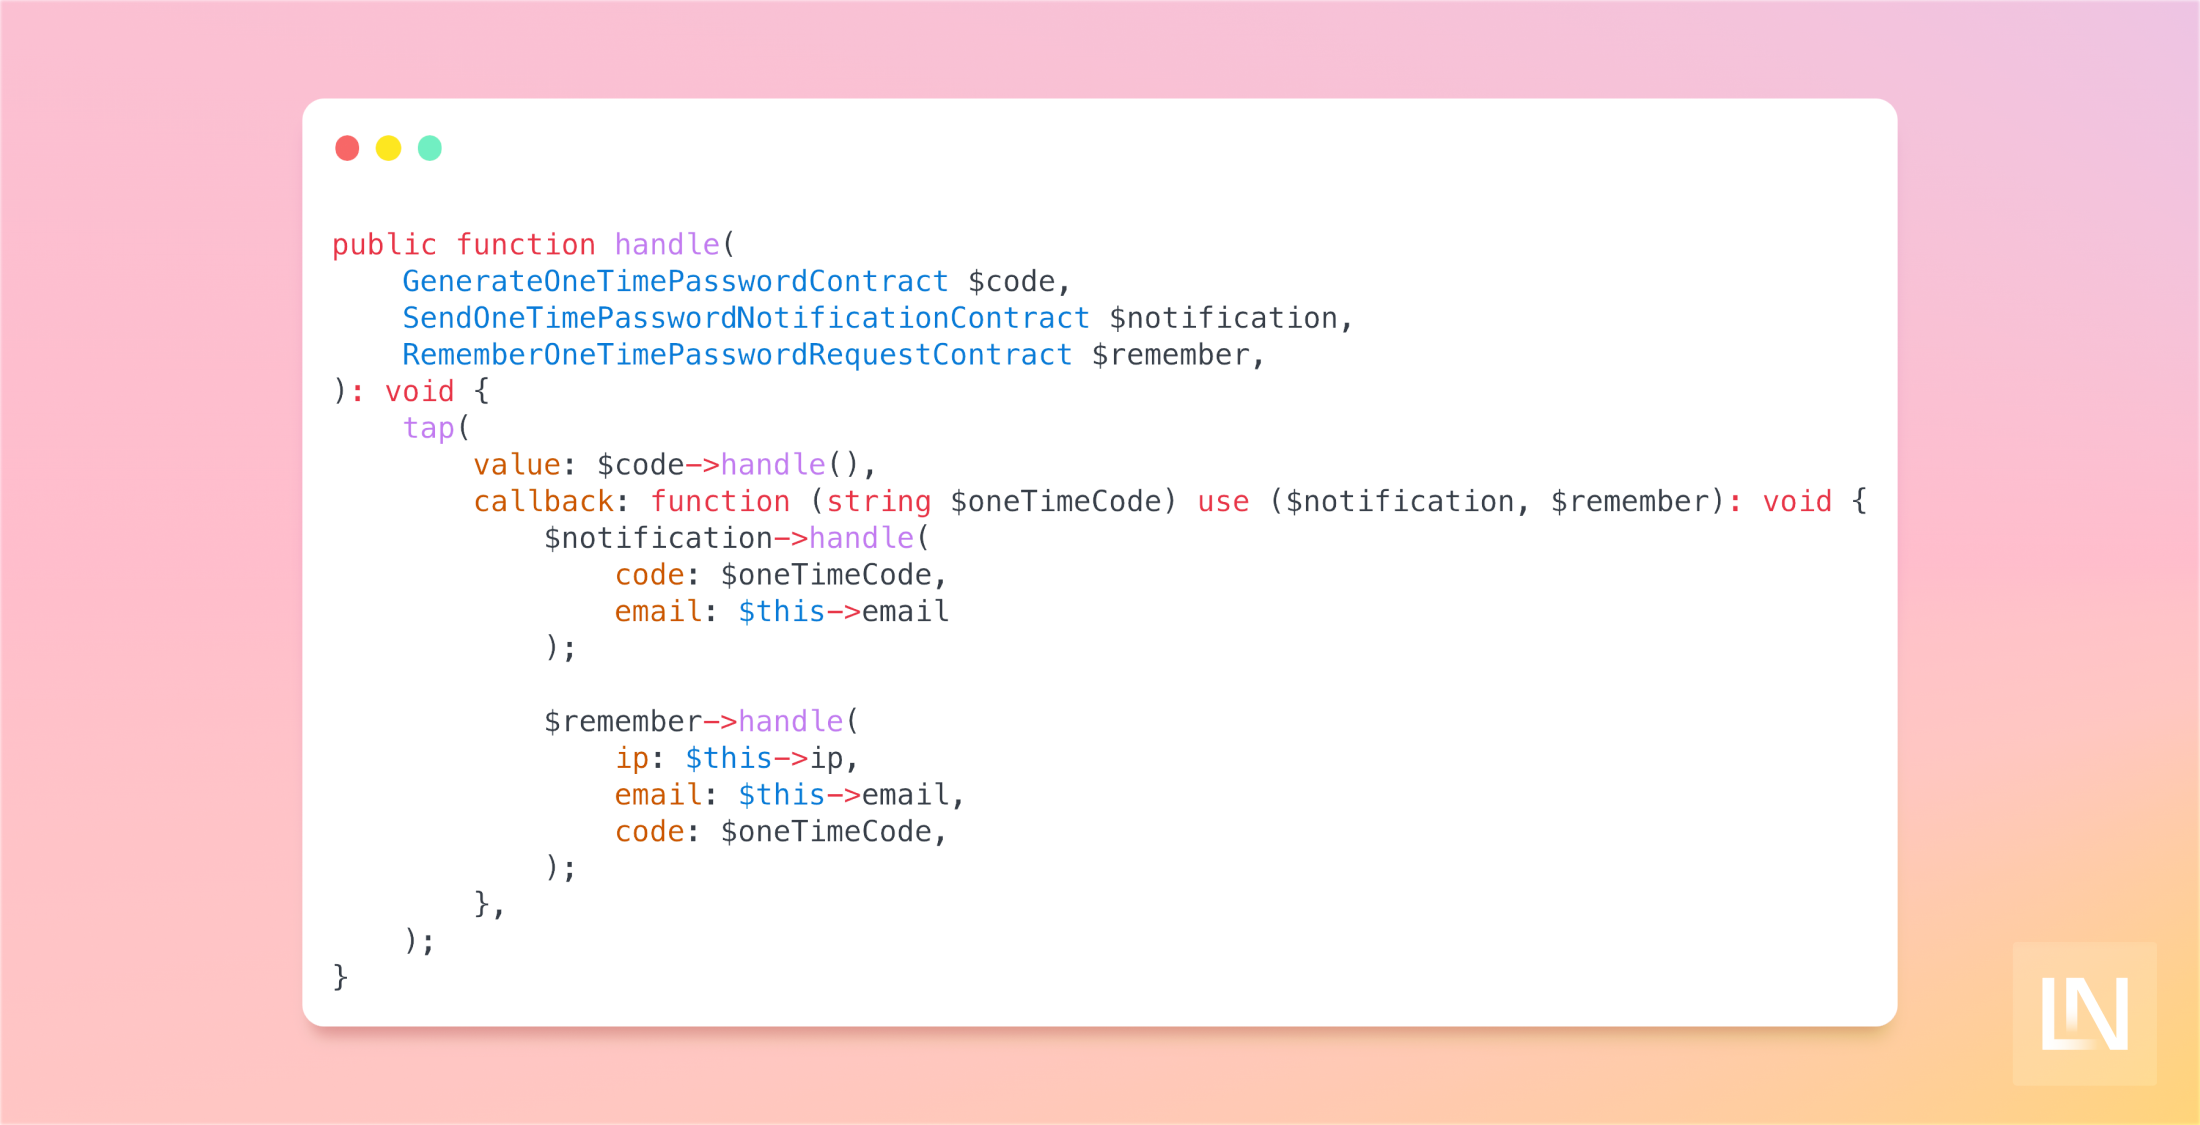
因此,我们在发送一次性密码时有三个组件可以使用,并且有几种方法可以实现很好地发送这些组件。在本教程中,我将创建一个额外的命令来为我们处理它 - 使用 Laravels 的 `tap` 帮助器使其更流畅,
declare(strict_types=1); namespace Domains\Auth\Commands; use Infrastructure\Auth\Commands\GenerateOneTimePasswordContract;use Infrastructure\Auth\Commands\HandleAuthProcessContract;use Infrastructure\Auth\Commands\RememberOneTimePasswordRequestContract;use Infrastructure\Auth\Commands\SendOneTimePasswordNotificationContract; final class HandleAuthProcess implements HandleAuthProcessContract{ public function __construct( private readonly GenerateOneTimePasswordContract $code, private readonly SendOneTimePasswordNotificationContract $notification, private readonly RememberOneTimePasswordRequestContract $remember, ) {} public function handle(string $ip, string $email) { tap( value: $this->code->handle(), callback: function (string $code) use ($ip, $email): void { $this->notification->handle( code: $code, email: $email ); $this->remember->handle( ip: $ip, email: $email, code: $code, ); }, ); }}我们首先使用 tap 函数创建一个代码,并将代码传递给闭包,以便只有在生成代码时才发送通知并记住详细信息。这种方法的唯一问题是它是一个同步操作,我们不希望它在主线程中发生,因为它会导致阻塞。相反,我们将将其移动到后台作业 - 我们可以通过将我们的命令转换为可以分派到队列的东西来做到这一点。
declare(strict_types=1); namespace Domains\Auth\Commands; use Illuminate\Bus\Queueable;use Illuminate\Contracts\Queue\ShouldQueue;use Illuminate\Foundation\Bus\Dispatchable;use Illuminate\Queue\InteractsWithQueue;use Illuminate\Queue\SerializesModels;use Infrastructure\Auth\Commands\GenerateOneTimePasswordContract;use Infrastructure\Auth\Commands\HandleAuthProcessContract;use Infrastructure\Auth\Commands\RememberOneTimePasswordRequestContract;use Infrastructure\Auth\Commands\SendOneTimePasswordNotificationContract; final class HandleAuthProcess implements HandleAuthProcessContract, ShouldQueue{ use Queueable; use Dispatchable; use SerializesModels; use InteractsWithQueue; public function __construct( public readonly string $ip, public readonly string $email, ) {} public function handle( GenerateOneTimePasswordContract $code, SendOneTimePasswordNotificationContract $notification, RememberOneTimePasswordRequestContract $remember, ): void { tap( value: $code->handle(), callback: function (string $oneTimeCode) use ($notification, $remember): void { $notification->handle( code: $oneTimeCode, email: $this->email ); $remember->handle( ip: $this->ip, email: $this->email, code: $oneTimeCode, ); }, ); }}现在我们可以看看前端实现。在本例中,我将使用 Laravel Livewire 作为前端,但无论您使用哪种技术,该过程都类似。我们需要做的就是从用户那里接受一个电子邮件地址,将其通过已分派的作业路由并重定向用户。
declare(strict_types=1); namespace App\Http\Livewire\Auth; use Domains\Auth\Commands\HandleAuthProcess;use Illuminate\Contracts\View\View as ViewContract;use Illuminate\Http\RedirectResponse;use Illuminate\Support\Facades\View;use Livewire\Component;use Livewire\Redirector; final class RequestOneTimePassword extends Component{ public string $email; public function submit(): Redirector|RedirectResponse { $this->validate(); dispatch(new HandleAuthProcess( ip: strval(request()->ip()), email: $this->email, )); return redirect()->route( route: 'auth:one-time-password', ); } public function rules(): array { return [ 'email' => [ 'required', 'email', 'max:255', ], ]; } public function render(): ViewContract { return View::make( view: 'livewire.auth.request-one-time-password', ); }}我们的组件将获取电子邮件并发送通知。实际上,在这一点上,我会在我的 Livewire 组件中添加一个特征来强制执行严格的速率限制。这个特征看起来像这样
declare(strict_types=1); namespace App\Http\Livewire\Concerns; use App\Exceptions\TooManyRequestsException;use Illuminate\Support\Facades\RateLimiter; trait WithRateLimiting{ protected function clearRateLimiter(null|string $method = null): void { if (! $method) { $method = debug_backtrace()[1]['function']; } RateLimiter::clear( key: $this->getRateLimitKey( method: $method, ), ); } protected function getRateLimitKey(null|string $method = null): string { if (! $method) { $method = debug_backtrace()[1]['function']; } return strval(static::class . '|' . $method . '|' . request()->ip()); } protected function hitRateLimiter(null|string $method = null, int $decaySeonds = 60): void { if (! $method) { $method = debug_backtrace()[1]['function']; } RateLimiter::hit( key: $this->getRateLimitKey( method: $method, ), decaySeconds: $decaySeonds, ); } protected function rateLimit(int $maxAttempts, int $decaySeconds = 60, null|string $method = null): void { if (! $method) { $method = debug_backtrace()[1]['function']; } $key = $this->getRateLimitKey( method: $method, ); if (RateLimiter::tooManyAttempts(key: $key, maxAttempts: $maxAttempts)) { throw new TooManyRequestsException( component: static::class, method: $method, ip: strval(request()->ip()), secondsUntilAvailable: RateLimiter::availableIn( key: $key, ) ); } $this->hitRateLimiter( method: $method, decaySeonds: $decaySeconds, ); }}如果您使用 Livewire 并希望向您的组件添加速率限制,这是一个方便的小特征。
接下来,在一次性密码视图上,我们将使用一个额外的 livewire 组件,该组件将接受一次性密码代码并允许我们验证它。但是,在我们这样做之前,我们需要创建一个新的命令,使我们能够确保存在一个具有此电子邮件地址的用户。
declare(strict_types=1); namespace Domains\Auth\Commands; use App\Models\User;use Illuminate\Database\Eloquent\Model;use Infrastructure\Auth\Commands\EnsureUserExistsContract; final class EnsureUserExists implements EnsureUserExistsContract{ public function handle(string $email): User|Model { return User::query() ->firstOrCreate( attributes: [ 'email' => $email, ], ); }}此操作被注入到我们的 Livewire 组件中,允许我们根据是否是新用户进行身份验证到应用程序的仪表板或入职步骤。我们可以通过它是否没有姓名,只有电子邮件地址来判断它是否是新用户。
declare(strict_types=1); namespace App\Http\Livewire\Auth; use App\Http\Livewire\Concerns\WithRateLimiting;use Illuminate\Contracts\View\View as ViewContract;use Illuminate\Http\RedirectResponse;use Illuminate\Support\Facades\Auth;use Illuminate\Support\Facades\Cache;use Illuminate\Support\Facades\View;use Infrastructure\Auth\Commands\EnsureUserExistsContract;use Livewire\Component;use Livewire\Redirector; final class OneTimePasswordForm extends Component{ use WithRateLimiting; public string $email; public null|string $otp = null; public string $ip; public function mount(): void { $this->ip = strval(request()->ip()); } public function login(EnsureUserExistsContract $command): Redirector|RedirectResponse { $this->validate(); return $this->handleOneTimePasswordAttempt( command: $command, code: Cache::get( key: "{$this->ip}-one-time-password", ), ); } protected function handleOneTimePasswordAttempt( EnsureUserExistsContract $command, mixed $code = null, ): Redirector|RedirectResponse { if (null === $code) { $this->forgetOtp(); return new RedirectResponse( url: route('auth:login'), ); } /** * @var array{email: string, otp: string} $code */ if ($this->otp !== $code['otp']) { $this->forgetOtp(); return new RedirectResponse( url: route('auth:login'), ); } Auth::loginUsingId( id: intval($command->handle( email: $this->email, )->getKey()), ); return redirect()->route( route: 'app:dashboard:show', ); } protected function forgetOtp(): void { Cache::forget( key: "{$this->ip}-one-time-password", ); } public function rules(): array { return [ 'email' => [ 'required', 'string', 'email', ], 'otp' => [ 'required', 'string', 'min:6', ] ]; } public function render(): ViewContract { return View::make( view: 'livewire.auth.one-time-password-form', ); }}我们希望确保如果我们尝试失败,我们会重置此 IP 地址的一次性密码。完成后,用户将被验证并重定向,就像他们使用标准电子邮件地址和密码方法登录一样。
这不能说是一个完美的解决方案,但它确实很有趣。一个改进是发送包含一些信息的已签名 URL,而不是完全依赖我们的缓存。
您以前使用过自定义身份验证流程吗?您在 Laravel 中的首选身份验证方法是什么?请在 Twitter 上告诉我们!

